Search is currently unavailable. To use search functionality, please accept cookies in your preferences.
Popular Searches: POP Containers
How to Store Homemade Baby Food to Keep It Safe for Your Little One
After all that prepping, chopping and blending, it’s no wonder you want that deliciously healthy homemade baby food to last. Follow these steps for easy, safe storage.
9 min read

Diana Levey
Jul 15, 2024
Few things are more frustrating than grabbing your baby’s lovingly prepared, homemade dinner from the fridge, only to realize it smells funky. You take another whiff and confirm: Yup, it’s spoiled. Not only will you have to toss the food you slaved over into the garbage, now you’ll need to scramble for a backup plan.
As you transition your baby to solid foods, of course you don’t want to spend time prepping, cooking and pureeing a healthy meal only to have it go to waste. With all that effort, you want to make sure your baby’s homemade food lasts as long as possible. Learn more about storing homemade baby food and how to follow proper baby food safety protocol.
What You’ll Need
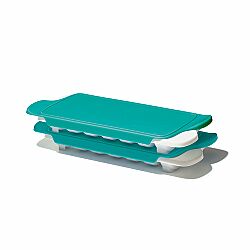
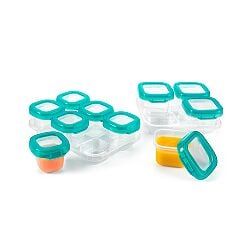
First things first: You’ll want to stock up on a few baby food freezer trays that let you spoon liquid directly into molded cubes and cover with a silicone lid. You’ll also want a baby blocks food storage set which includes individual cups that can be inserted into a freezer tray for easy storage. These small-portion containers are ideal for storing homemade baby food from a food-safety perspective, since once your baby’s mouth comes in contact with the food, you have to throw out what isn’t eaten to avoid bacteria contamination.
As a general rule, your baby food containers should be airtight, shatter-proof and leakproof. And don’t forget dishwasher safe! There are plastic and glass options. Plastic is great for on-the-go since it’s lighter. The glass containers are made from borosilicate glass, which is thermal shock resistant, meaning it can go directly from the freezer to the microwave or oven without having to thaw. The great thing about choosing quality storage containers is that they last: You’ll find uses for them long after your baby becomes a toddler and beyond.
Other items that will come in handy: Sharp knives, peelers, a blender, pots for cooking, ladles, and sealable storage containers. Plus, check out more must-haves for feeding baby.
How to Pour and Store Baby Food
After you blend your homemade concoction, spoon it into a container using a soup ladle. (If you’re daring, you might try pouring it directly from the blender, but we take no responsibility for the mess that may ensue!) Filling the cup all the way to the top can help prevent freezer burn, but there’s nothing inherently unhealthy about those little ice crystals if they do form.
Once cups have been filled and sealed, label each container with the type of food and date you made it. That’s important because it will help you tell, several weeks down the road, whether or not that food is still OK to serve your baby.
Generally speaking, homemade baby food is safe to store in the refrigerator for one to two days. After that, it’s best to either freeze the remaining amount or throw it away.
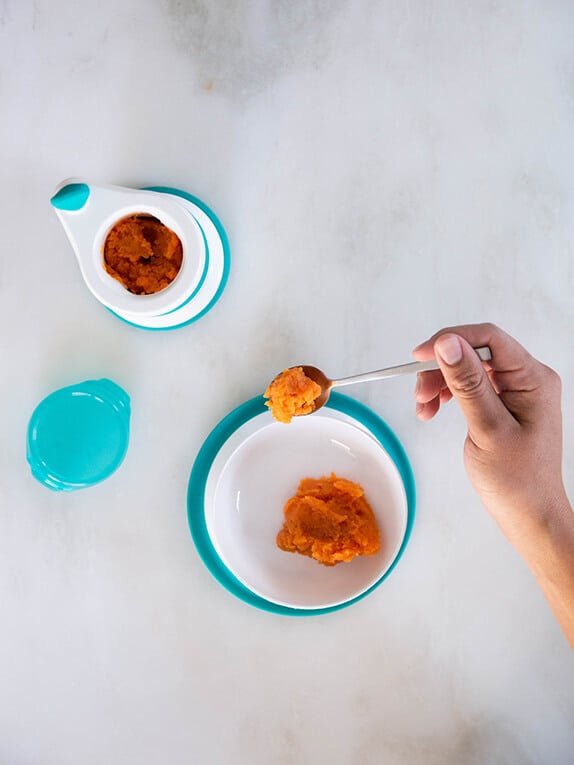
A word of caution: Don’t feed your baby straight from the larger container as any bacteria from the spoon (and your baby’s mouth) will contaminate the rest of the food(Opens in a new window). Instead, spoon a small amount into a separate bowl and feed your little one from that. You can always add more if they eat it all up (just use a fresh spoon to serve it).
Planning to freeze your homemade purees right away? If the food is still hot, put it in the refrigerator to cool down for an hour or two, and then move it to the freezer. Hot food that goes straight into the freezer(Opens in a new window) can develop large ice crystals, changing the food’s texture and potentially the taste.
For more specific fridge and freezer tips, see below.

Homemade Baby Food Storage and Preparation Tips
Follow these basic guidelines to be sure food is prepped, prepared, and stored safely.
1. Unlike store-bought baby food, baby food made at home isn’t pasteurized, so it’s more vulnerable to spoiling and bacteria growth. Here are safe storage timelines:
In the refrigerator:
- Make sure to refrigerate homemade baby food within two hours of making it(Opens in a new window), otherwise dangerous bacteria can begin to grow.
- Fruits and veggies should be eaten within two to three days(Opens in a new window).
- Any purees with meat should ideally be eaten within 24 hours(Opens in a new window).
In the freezer:
- Fruit and veggie purees can last in the freezer for six to eight months(Opens in a new window).
- Meat purees should be eaten within one to two months(Opens in a new window).
2. Make sure your tools, cutting boards, pots, and food storage containers are clean.
3. Properly store fresh fruits and veggies, and scrub produce before using it. These containers promote airflow and trap ethylene gas (which can make produce go bad more quickly).
4. Remove pits and seeds from fruits and veggies before pureeing.
5. Cook food until it’s very tender (you should be able to slide a fork or knife straight through the center like butter).
6. Mash or puree fruit in its own juice; don’t add sugar or honey to sweeten. According to the FDA, honey isn't safe for children less than a year old(Opens in a new window) as it can contain a dangerous organism that may make children seriously sick or even cause death.
7. Cook meats, poultry, and eggs until they are well done. The USDA's recommended safe minimum internal temperatures are as follows: For beef, veal, lamb, and pork (steaks and roasts) cook to 145°F; fish: 145°F; ground beef: 160°F; and poultry: 165°F.
8. Thaw frozen foods(Opens in a new window) safely in a cold water bath (may take up to two hours), in the refrigerator (may take 24 to 48 hours), or in the microwave right before cooking. These methods are safer than leaving food on the counter to defrost, which risks bacterial growth.
Easy Baby Food Recipes
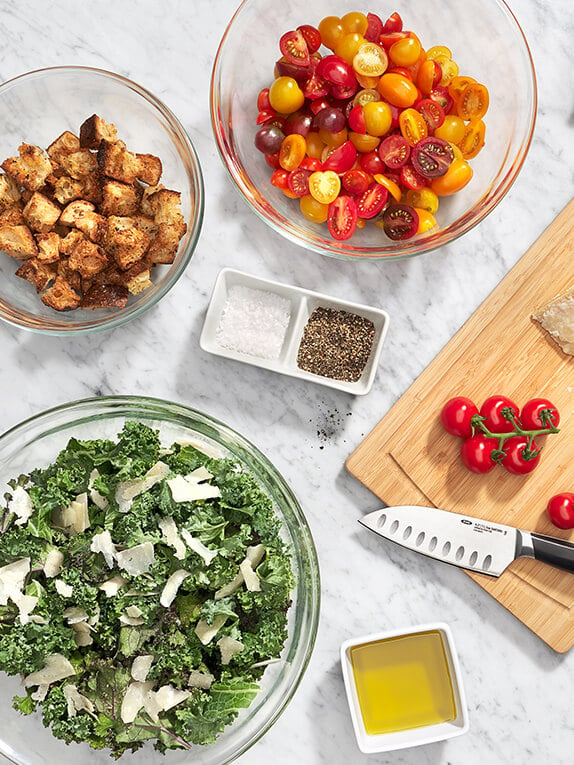
Your tools are ready to go. You’re briefed on all the important safety tips. And now, it’s time to get cooking. These recipes use the seasons’ freshest produce to create a tasty, colorful menu of options for your little one.
- Spring Produce-Filled Purees. Get creative with peas, spinach, apricots and more in these imaginative recipes.
- 7 Summer Puree Ideas. Expand your baby’s palette with fresh berries, melons, and herbs.
- Fall-Inspired Baby Food Purees. These recipes call on roasted versions of fall favorites like squash, apples, and pears.
Have leftovers? Pop them into the freezer (now that you know how to store everything safely) for when winter rolls around.
For more feeding tips, check out how to transition baby to table food, how to get little ones to eat veggies, and tips for raising a foodie in the first year.
Additional reporting by Holly Hays.
Shop This Article
Continue Reading


Shop This Article
-
 Final $5.24
 -
 Final $12.99
Loading...