Search is currently unavailable. To use search functionality, please accept cookies in your preferences.
Popular Searches: POP Containers
Poached Eggs Just Got Easier: Behind the Design of the Silicone Egg Poacher
Our Silicone Egg Poacher is the secret to cooking a perfect poached egg.
8 min read
Audrey Brashich
Aug 04, 2025
Is there anything better than a perfectly poached egg? They’re the hero of brunch favorites like Eggs Benedict and a great addition to a basic avocado toast. But learning how to poach an egg in an egg poacher or choosing the tools you need to cook eggs like an expert isn’t easy. Or is it? If you’re keen to learn which egg poacher is best for beginners or seeking some easy poached egg recipes, then it’s time to get to know OXO’s Silicone Egg Poacher.
Behind the Design of the OXO Silicone Egg Poacher
Let’s start with the basics. Poached eggs are cooked in a bath of simmering water that’s around 180F. This temperature allows the egg whites to cook without separating from the yolks. Successful poaching also requires the creation of a whirlpool of water, which keeps the egg whites from “feathering” or developing into long strands.
To help achieve these results, OXO developed the Egg Poacher in an hourglass shape. The top is a funnel, which gently propels the heavier yolk into the water first and then allows the white to gather around it. Meanwhile, the bottom half of the poacher is a perforated bell-shaped holding chamber that allows water to evenly circulate all around the egg while it cooks. The silicone material prevents sticking and is easy to clean. The poacher can also collapse and stack for compact storage. There’s even a handy tab at the top, which makes the process of lifting the poacher out of the water without breaking apart the egg virtually foolproof.
How to Use the Silicone Egg Poacher for Perfect Eggs
Ready to try the poaching method for yourself? We recommend following the six simple steps outlined here in our OXO egg poacher guide.
Do some advance preparation
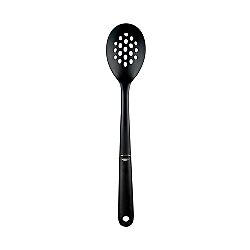
A little mise en place will ensure you have everything you need—like a non-stick slotted spoon for lifting your egg out of the water and a fantastic cup of coffee—ready and close at hand. Lay out your plate and cutlery as well so that you can eat as soon as your egg is cooked. Clear and reset your timer.


Boil water
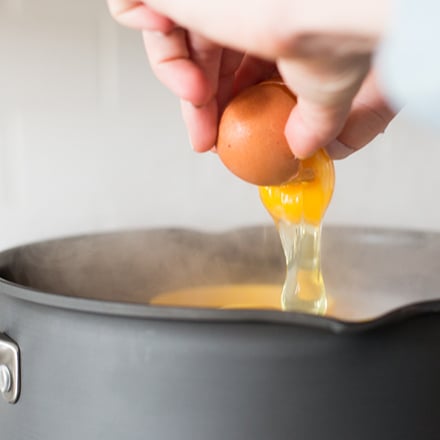
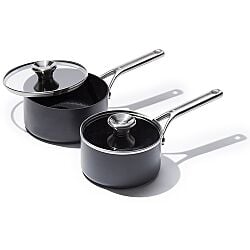
Fill a non-stick saucepan with water so that it reaches the Fill Line marked on the inside side of Silicone Egg Poacher. The water should cover the entire lower part of the poacher and be present in the bottom part of the funnel. Add a splash of white vinegar to the water, which helps to solidify the egg white without adding any flavor. Then, bring the water to a simmer (below a rolling boil). If you’d like to cook multiple eggs at once, place several poachers (they come in sets of two) into a larger frying pan with more surface area.
Prepare to poach
Slip the poacher into the water and make sure it’s sitting on the bottom of your saucepan. Crack an egg into the center of the poacher. Allow it to drop through the funnel and into your simmering water bath.
Start your timer
The moment your egg hits the water, begin monitoring its cooking time. Here are some general guidelines based on egg size, but it’s best to experiment until you discover your ideal doneness.
- Medium Eggs: Between 3:00-3:30 minutes
- Large Eggs: Between 3:15-3:45 minutes
- XL Eggs: Between 3:30-4:00 minutes
- Jumbo Eggs: Between 4:00-4:40 minutes
Remove the poacher
After about 30 seconds, the egg whites will begin to coalesce and you can lift the poacher out of your saucepan. Allow eggs to cook until the whites have reached your desired firmness. Use tongs to protect your hands from burns or scalding as you remove the poacher from the simmering water. Place it in the dishwasher for thorough cleaning.
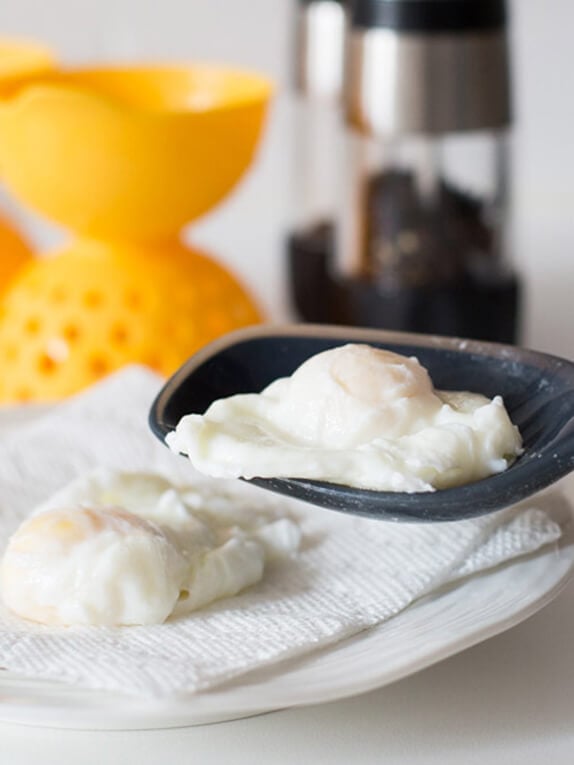
Serve and eat
When your eggs are done to your liking, gently lift them out of the water with a slotted spoon and hold them over the saucepan for a few seconds, allowing water to drain. Enjoy your eggs on their own, with toast, or with leafy greens in a grain bowl. Of course, you can’t go wrong pairing them with classics like healthy pancakes or ultra crispy bacon.
Common Mistakes to Avoid When Poaching Eggs
Even though the Silicone Egg Poacher makes the whole process easy, there are still some common pitfalls to avoid when poaching, including:
Overboiling the water
Large bubbles and roiling water are too rough on the egg when it first hits the water. They can make the yolk cook too quickly or even explode. So keep the temperature between 180F and 190F, or just below boiling.

Skipping the vinegar
Trust us, you won’t taste it. Promise! And if you eliminate this step from your process, you’ll miss the chance to help the egg white solidify thanks to the vinegar’s acid content
Using cold eggs
No one enjoys the shock of going from extreme cold to boiling hot—and eggs are no exception, no matter how you intend to prepare them. If you immerse them into simmering water straight from the refrigerator, they tend to cook unevenly. Instead, let them warm up to room temperature on the counter before cooking.
Not allowing excess water to drain sufficiently
The eggs are being cooked in a water bath. You don’t water on the rest of your food. Make sure you let the water drain off them when you pick them up with a slotted spoon so that the rest of your meal doesn’t become soggy. You can even blot them gently with paper towel before you plate them.
The Takeaway
Everyone always talks about how difficult it is to cook perfectly poached eggs at home, but we disagree! All it takes is an understanding of the process and the OXO Silicone Egg Poacher to help you create the perfect conditions for poaching. Then you can enjoy them anytime, whether you’re cooking up a full brunch menu or not.
Interested in finding out more about the function design behind many of OXO’s products? Then check out the story of our salad spinner and what makes our prep peelers special. You won’t be disappointed!
Shop This Article
Continue Reading


Shop This Article

Loading...